 Pin It
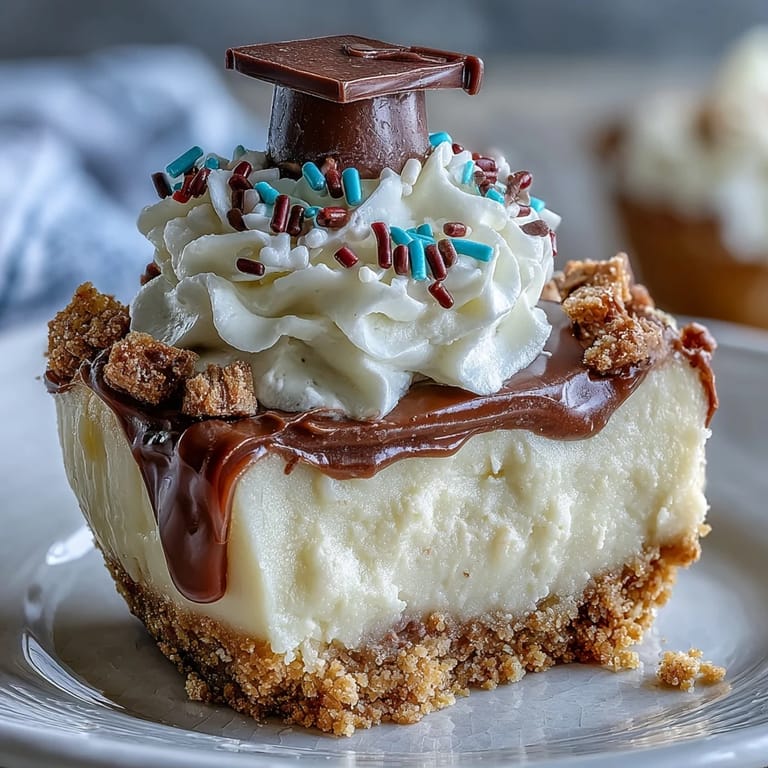
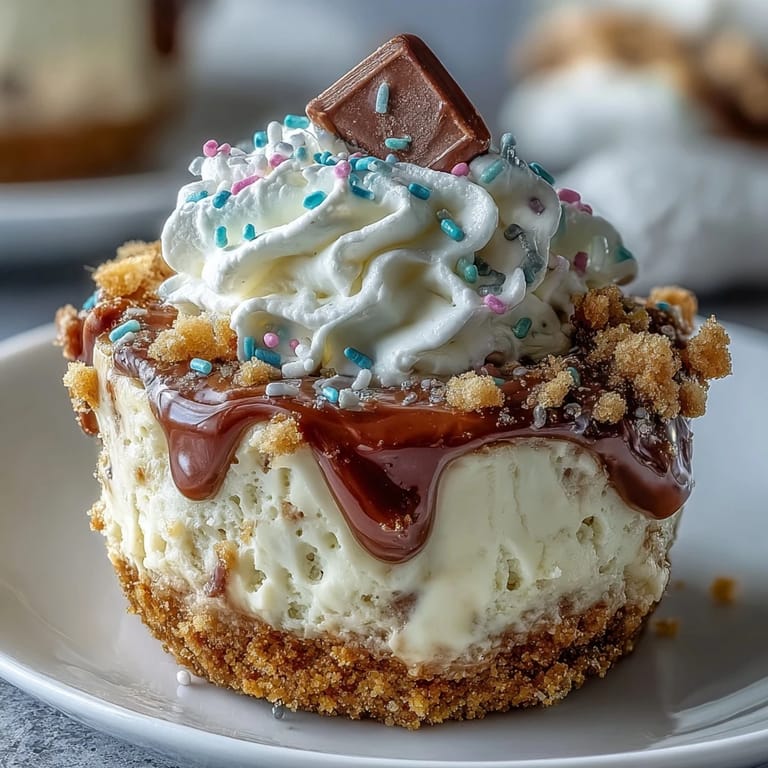
 The kitchen felt like a scene from a confetti cannon test the first time I made these cheesecake bites for my cousin's graduation. There were sprinkles everywhere: on the counter, in my hair, even suspiciously tucked behind the toaster for days. The process, though, was the calming part—a gentle rhythm of mixing and scooping, punctuated by the soft clink of mini muffin tins and the tantalizing scent of butter warming in the oven. Somehow, a simple dessert turned into a low-key celebration all on its own. If you love a recipe that promises accolades with minimal stress, these little cheesecakes deliver every time.
My mom couldn’t resist sneaking an “official test bite” while we were lining up the finished cheesecakes on a platter for the graduates. She grinned, declared herself chief taster, and quietly pocketed a second one, winking at me as she did. Suddenly, the kitchen chat shifted from cap designs to stories about disastrous desserts past, and I realized how even the smallest treats can spark the best conversations.
Ingredients
- Graham cracker crumbs: Golden, slightly sweet, and perfect for that classic cheesecake base—press firmly so the crust doesn’t crumble apart.
- Granulated sugar: Sweetens both the crust and the cheesecake, and I’ve learned that a gentle whisk prevents graininess.
- Unsalted butter: Melted butter transforms loose crumbs into a crust that actually stays together—don’t skimp or rush the melting step.
- Cream cheese: Softened cream cheese is the backbone of creaminess here; let it reach room temperature to avoid lumps.
- Eggs: Bind the filling and give that luxurious, rich texture—crack them into a separate bowl just in case.
- Pure vanilla extract: Even a teaspoon brings warmth and depth—a little goes a long way.
- Sour cream: Adds tangy silkiness, and you’ll notice it makes the cheesecake less heavy on the palate.
- Salt: Just a pinch balances all the flavors; don’t skip it, even if it sounds odd for dessert.
- Whipped cream (optional): Just before serving, a swirl of whipped cream adds decadence and helps hold up any festive sprinkles or toppers.
- Festive sprinkles or mini chocolate graduation caps (optional): These tiny decorations bring the celebration—get creative with what you have on hand.
- Fresh berries (optional): For a pop of freshness and color, berries never let me down.
Tired of Takeout? 🥡
Get 10 meals you can make faster than delivery arrives. Seriously.
One email. No spam. Unsubscribe anytime.
Instructions
- Get your oven and pan ready:
- Preheat your oven to 325°F (160°C) and line your mini muffin tin with paper liners, making sure they sit flat for easy filling.
- Mix and pack the crust:
- Stir together graham cracker crumbs, sugar, and melted butter until every crumb glistens, then scoop a tablespoon into each liner and press down using a spoon or your fingers.
- Bake the base:
- Slide the tray in for 5 minutes—just enough to set the crust without browning—then let the crusts cool while you whip up the filling.
- Whip up the cheesecake batter:
- Beat the cream cheese until it’s cloud-soft, then blend in the sugar until you can’t spot a grain; mix in eggs one at a time, vanilla, sour cream, and salt just until smooth.
- Fill the cups:
- Spoon the velvety batter over the cooled crusts, nearly to the top; it’s okay if some look fuller, they settle as they bake.
- Bake until just set:
- Bake for 13–15 minutes, watching for softly set centers with a gentle jiggle—resist the urge to overbake.
- Cool with care:
- Let the cheesecakes cool in the tin for 10 minutes, then gently move them to a wire rack to finish cooling to room temp; chill in the fridge for at least 30 minutes so the texture sets just right.
- Decorate and serve:
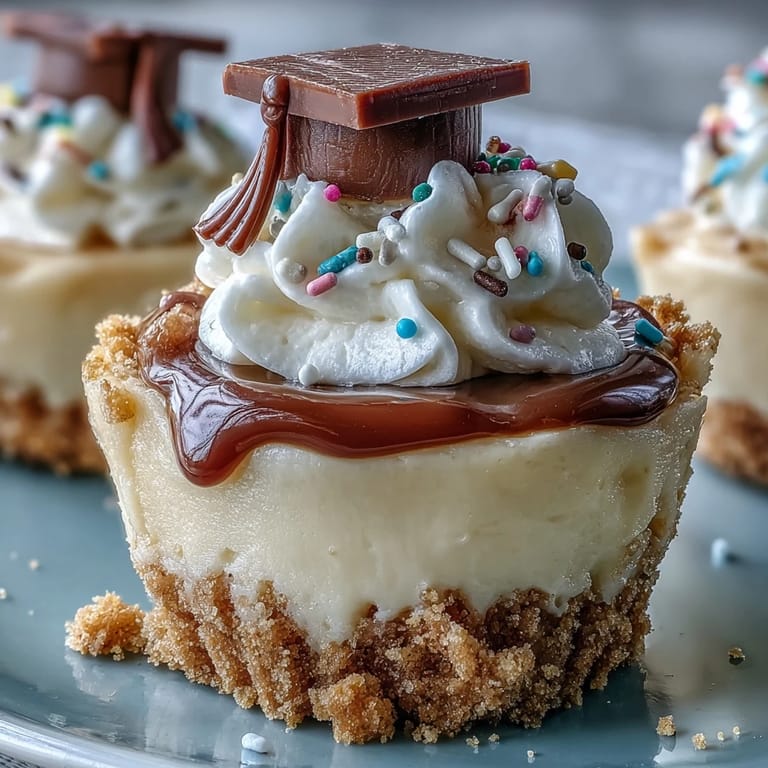
- Just before your guests arrive, top each bite with whipped cream, playful sprinkles, or your hand-crafted chocolate graduation caps—smiles guaranteed.
 Pin It
 Around the end of the night, one of the shyest graduates proudly snapped a photo of his cheesecake bite, complete with a chocolate ‘cap,’ saying it was the highlight of his celebrations. Seeing everyone reach for seconds and trade decoration tips brought that party energy straight to my kitchen heart.
Making Decorations Extra Fun
Getting creative with the toppings is half the fun—one friend even melted a bit of chocolate to stick candy ‘tassels’ on our makeshift caps, and not a single one survived long enough for leftovers. If you have little helpers around, let them arrange berries or press on sprinkles—they’ll love making each cheesecake their own.
How to Store and Prep Ahead
These cheesecake bites actually taste better after a night in the fridge, which makes them perfect for parties where you want less last-minute scrambling. Just keep the decorations off until serving so everything stays crisp and bright.
Helpful Hints for Party Success
I’ve found it’s easiest to use a small spoon or even a cookie scoop to portion both crust and filling, keeping everything neat and even. If you run short on liners, a little swipe of butter in the tins can save the day, though the wrappers do help keep things tidy at parties.
- Use sturdy paper liners so cheesecakes pop out easily.
- Have toppings ready to go before you decorate.
- Let everyone build their own for more fun (and less pressure on you).
 Pin It
 I hope these cheerful cheesecake bites bring some extra sparkle to your next celebration. May every little bite deliver a big reason to smile.
Recipe FAQs
- → How long should I bake the mini cheesecakes?
Bake at 325°F (160°C) for about 13–15 minutes. Centers should be just set with a slight jiggle; overbaking dries them out. Let cool in the pan 10 minutes before transferring to a rack.
- → How do I avoid cracks in the filling?
Use room-temperature cream cheese and mix until smooth but not overworked. Add eggs one at a time and stop mixing as soon as the batter is combined. Gentle baking at 325°F helps prevent cracking.
- → Can these be made ahead of time?
Yes. Bake and chill the cheesecakes up to one day ahead, then add whipped cream and decorations just before serving. Store covered in the refrigerator for up to 3 days.
- → What can I use for a gluten-free crust?
Substitute gluten-free cookie crumbs (such as gluten-free graham or chocolate cookies) for the graham crackers and press with melted butter the same way. Bake the crust briefly as directed.
- → Can I freeze these mini cheesecakes?
Yes. Freeze un-topped, well-wrapped cheesecakes on a baking sheet, then transfer to an airtight container for up to 1 month. Thaw overnight in the refrigerator and add toppings before serving.
- → What are good topping ideas for a graduation theme?
Finish with whipped cream, fresh berries, festive sprinkles, or tiny chocolate squares and licorice strings fashioned into graduation caps. Add decorations just before serving to keep textures bright.