 Pin It
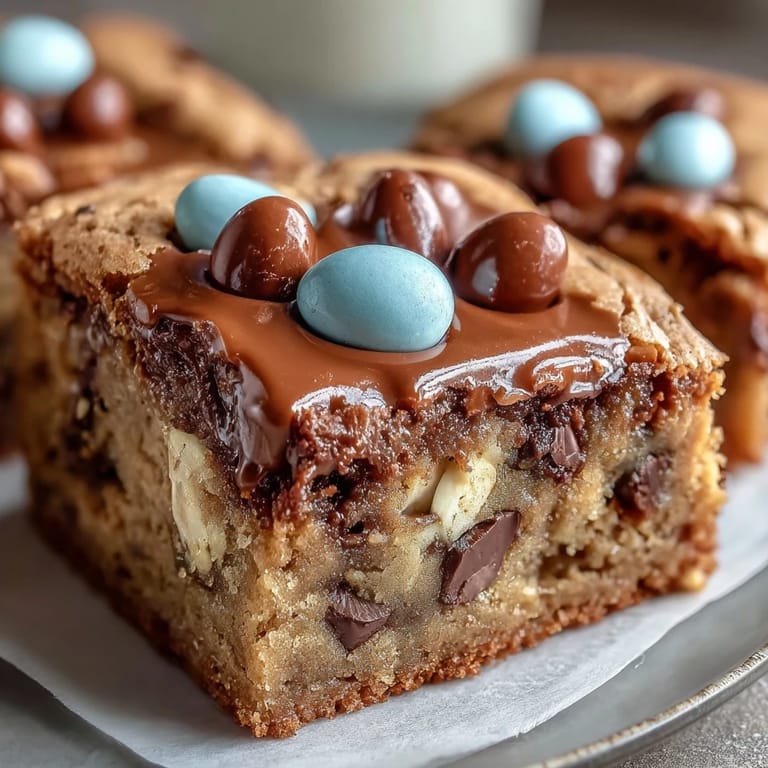
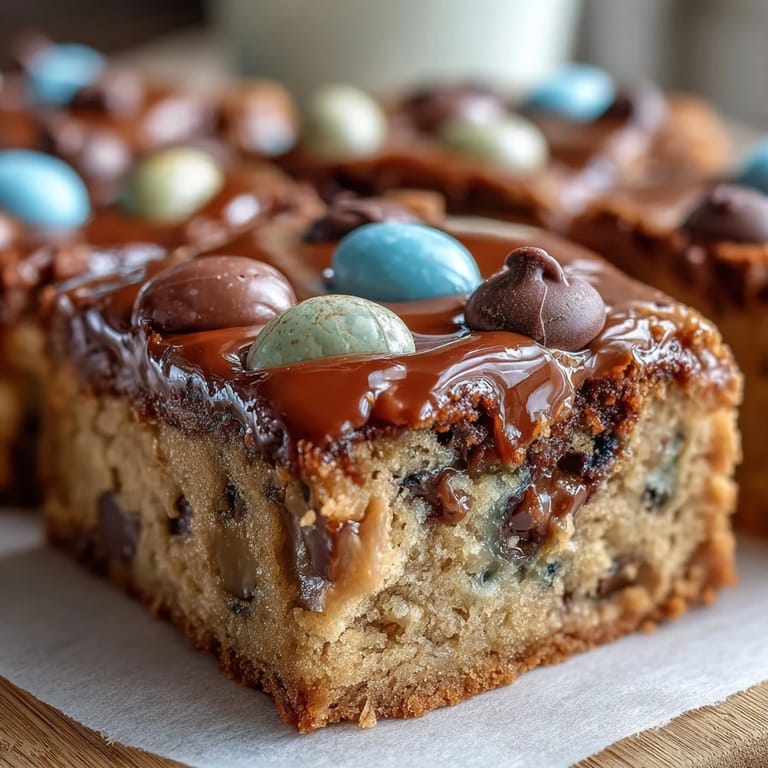
 The first time I baked Peanut Butter Easter Egg Cookie Bars, the scent of melting butter mingled with peanut butter was enough to make everyone peek into the kitchen. I remember pausing to admire the vibrant candies piled on my counter, feeling the lift of spring in the air as sunlight poured through the window. Somehow, making these bars felt like painting with chocolate instead of brushes. Kids argued softly about which color eggs to sprinkle on top, and someone nearly sneezed into the flour—thankfully caught in time. There was a certain energy, almost like preparing for a small spring festival, even though it was just a regular Sunday.
I once made these for a neighborhood spring potluck, and half the tray vanished before I managed to slice them into neat squares. One child loudly insisted they tasted "like happiness," and old friends admitted they'd never thought to combine peanut butter and festive chocolate eggs in cookie form. It was the rare dessert that drew both conversations and quiet munching. The drizzle of melted peanut butter over cooling bars made everyone pause to watch. Neighbors not only asked for seconds—they wanted the recipe for their own Easter gatherings.
Ingredients
- Unsalted butter: Melting the butter ensures a chewy texture, and letting it cool slightly keeps the eggs from cooking.
- Creamy peanut butter: The smoother, the richer; I found that stirring well prevents pockets of oil.
- Light brown sugar: This gives the bars a soft, caramel-like sweetness—pack it tightly for the right amount.
- Granulated sugar: Adds structure and a touch of classic cookie crunch.
- Eggs: Always bring them to room temperature; they blend better and support the dough.
- Vanilla extract: Real vanilla lifts the whole aroma—never skip.
- All-purpose flour: Sift, if you want bars that stay tender, but I often just whisk to avoid lumps.
- Baking powder: Gives just enough rise for softness.
- Baking soda: Adds subtle lift and helps develop the golden edges.
- Salt: Essential for balancing the sweetness; a little goes a long way.
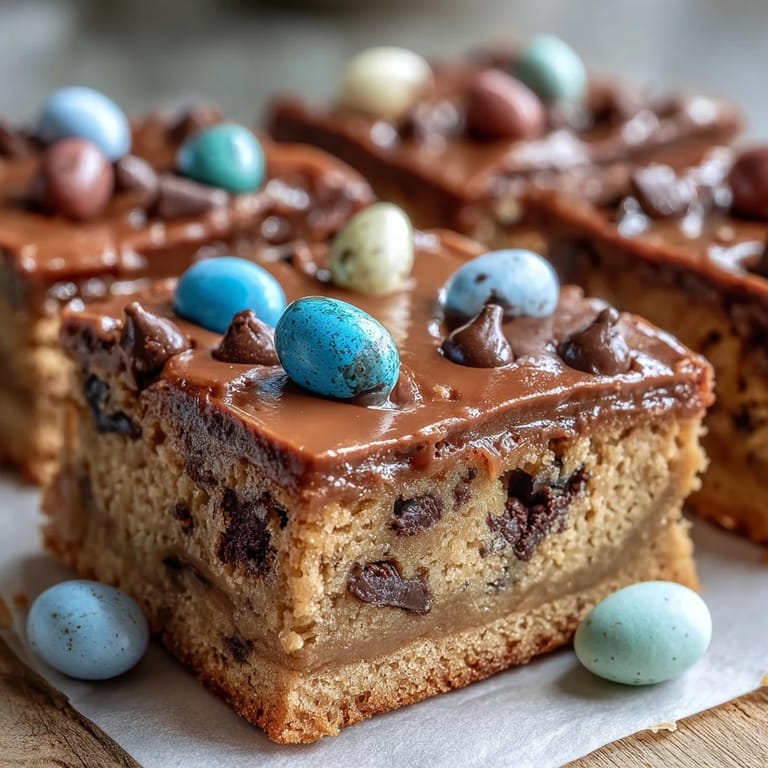
- Easter egg chocolate candies: Choose your favorite color mix and tuck a few extras on top for the most festive look.
- Semi-sweet chocolate chips (optional): If you like an extra layer of chocolate, stir these in sparingly—they melt beautifully.
Tired of Takeout? 🥡
Get 10 meals you can make faster than delivery arrives. Seriously.
One email. No spam. Unsubscribe anytime.
Instructions
- Prep Your Pan:
- Line a 9x9-inch baking pan with parchment, making sure the corners don't slip; this helps you lift the bars out without a fight.
- Whisk the Wet:
- Combine melted butter, peanut butter, and sugars in a big bowl, whisking until glossy and smooth—watch as the mixture becomes silky and thick.
- Add Eggs and Vanilla:
- Crack eggs in, followed by vanilla, then whisk again until you can't see streaks of yolk or extract.
- Mix the Dry:
- In a separate bowl, whisk flour, baking powder, baking soda, and salt; the flour cloud might escape, so go gently.
- Combine Everything:
- Fold the dry mix into the wet gently with a spatula—when the dough comes together, stop before it gets tough.
- Add the Fun:
- Stir in Easter egg candies and chocolate chips, letting the colors peek through the dough.
- Spread and Decorate:
- Spread dough into your pan, pressing extra candies into the top for the cheeriest finish.
- Bake:
- Bake at 350°F for 22-25 minutes; the center should look barely set, and edges golden—keep an eye to avoid dryness.
- Cool and Slice:
- Let bars cool in the pan—lifting them out with parchment feels almost ceremonial. Slice into squares and share immediately.
 Pin It
 There was a day the cookie bars accompanied my friend’s birthday picnic—she asked me to bring something "that felt like spring." Everyone gathered under a blooming tree, sharing those pastel treats and laughing at chocolate smudges on their fingers. It turned into an impromptu Easter egg hunt for leftover candies among the dessert.
Making Every Square Special
Sprinkling the candies on top just before baking makes the bars look dazzling and ensures each piece has a burst of color. You can create patterns or scatter them randomly; one afternoon I let younger helpers make a smiley face out of chocolate eggs, and it was the most photographed dessert that day.
Swap and Personalize
These bars are endlessly adaptable: swap in peanut butter chips, add extra chocolate chips, or try crushed pretzels if you crave something salty-sweet. Even leftover Halloween candies have made their way into the batch—don't stress over sticking strictly to the recipe.
Quick Troubleshooting Before Baking
If your dough feels stiff, add a spoonful of milk to loosen it up. Always check the edges of the pan while baking—golden edges mean chewy centers, while pale edges need a couple more minutes. Let the bars cool fully before slicing so they hold their shape and don't crumble.
- Don’t skip the parchment paper—it truly makes removal a breeze.
- If candies start to brown too fast, tent foil over the pan for the last five minutes.
- For the neatest bars, use a sharp knife cleaned between slices.
 Pin It
 Whether it's Easter or just another Tuesday, these cookie bars bring a little brightness to the baking routine. They're best enjoyed with friends, laughter, and maybe a glass of cold milk.
Recipe FAQs
- → What makes these bars chewy?
Using melted butter and creamy peanut butter creates a soft, chewy texture with tender edges and a moist center.
- → Can I use other candy instead of Easter eggs?
Yes, substitute regular chocolate candies or chips to enjoy these bars year-round with different flavors and colors.
- → How do I ensure easy bar removal?
Lining the baking pan with parchment paper and leaving an overhang helps lift the cooled bars without sticking.
- → How should I store these bars?
Keep them in an airtight container at room temperature for up to four days to maintain flavor and freshness.
- → Are these bars vegetarian?
Yes, the bars are vegetarian-friendly, using standard baking ingredients without meat or gelatin.
- → Can I add extra toppings?
Try drizzling melted peanut butter or adding extra chocolate chips for enhanced flavor and decorative appeal.