 Pin It
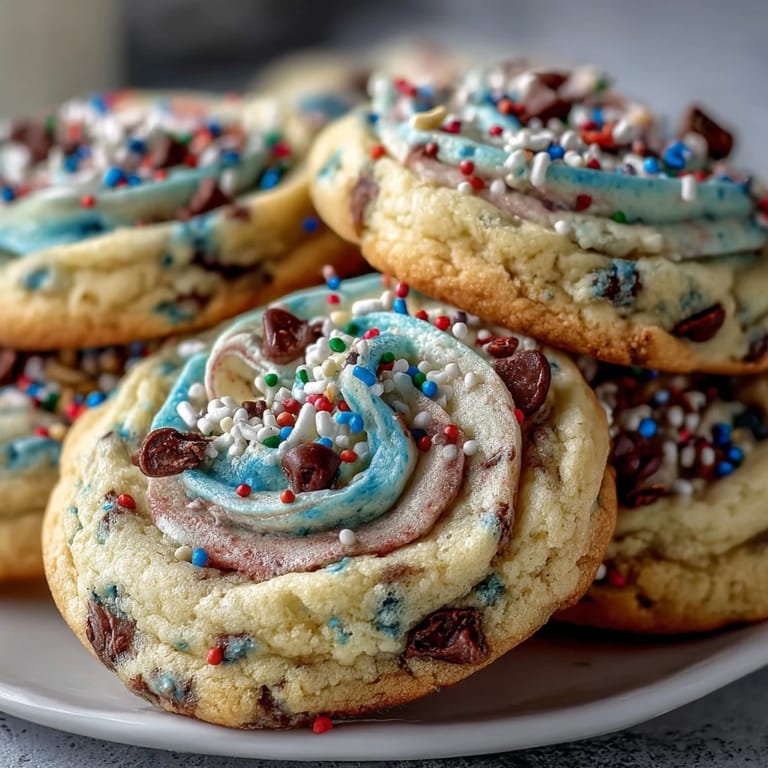
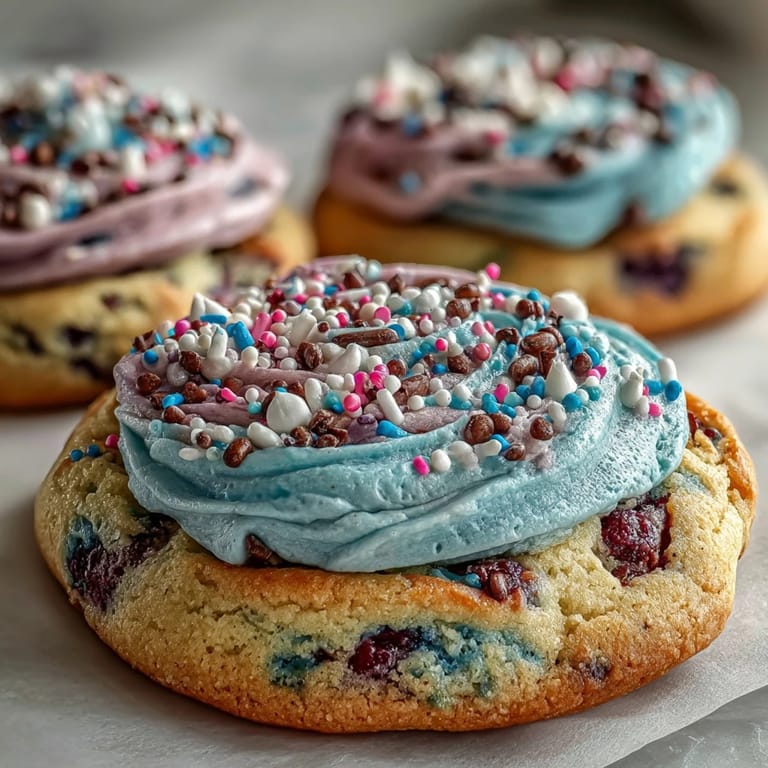
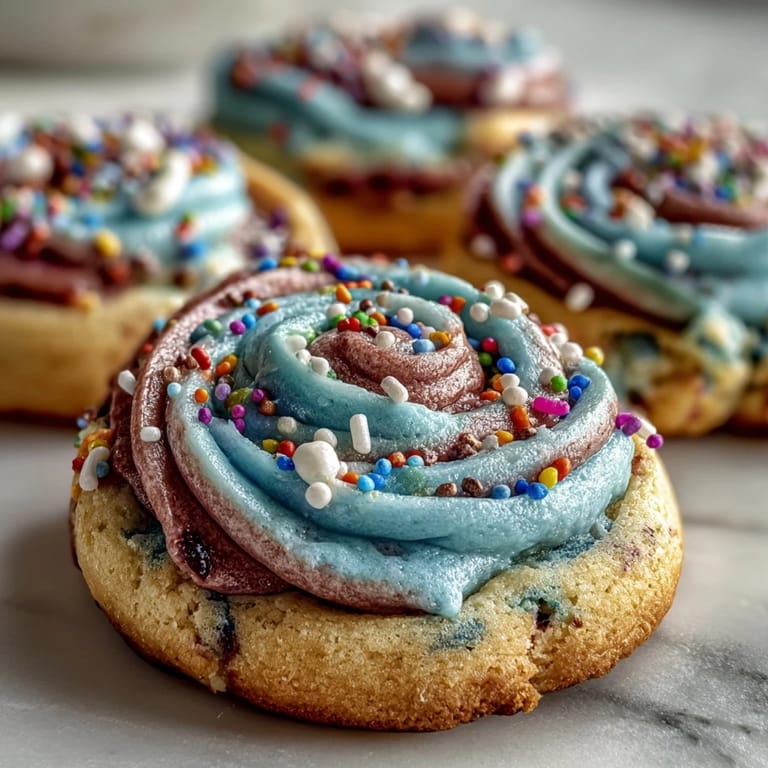
 My niece discovered Cookie Run Kingdom last summer, and suddenly every birthday wish involved those impossibly gorgeous swirled cookies from the game. I found myself staring at screenshots trying to reverse-engineer pastry magic from pixels, which led me down a rabbit hole of food coloring experiments in my kitchen at midnight. The breakthrough came when I stopped overthinking and just let the colored doughs twist together naturally, creating swirls that looked chaotic but somehow perfect. These soft, buttery sugar cookies became her birthday tradition, and now she helps me roll the ropes every year.
I'll never forget the chaos of my niece's eighth birthday party when these cookies became the unexpected star of the dessert table, outshining the actual cake. Her friends were passing them around like precious gems, examining the swirls under the light, and suddenly my kitchen felt less like a cooking space and more like a gallery opening. That's when I realized the magic wasn't really about the game at all—it was about creating something that made ordinary moments feel special and a little bit magical.
Ingredients
- All-purpose flour (2 1/2 cups): Use fresh flour stored in a cool place, as older flour can make cookies spread too thin during baking.
- Unsalted butter (1 cup, room temperature): Room temperature is non-negotiable here—cold butter won't cream properly and warm butter makes everything greasy.
- Granulated sugar (1 cup): This is what gives the cookies their tender crumb and slight caramelization at the edges.
- Large egg (1): Brings structure and helps bind all those pretty colors together seamlessly.
- Pure vanilla extract (2 tsp): Skip the imitation stuff—it's the backbone of flavor in a simple cookie.
- Almond extract (1/2 tsp, optional): A tiny amount adds subtle depth without screaming almond flavor.
- Baking powder (1/2 tsp): Just enough to give cookies a gentle rise and tender texture.
- Salt (1/4 tsp): Enhances sweetness and rounds out all the other flavors.
- Gel food coloring (pastel shades): Gel coloring won't water down your dough like liquid coloring does, keeping the texture perfect.
- Pastel sprinkles (1/4 cup): These are the final touch that makes everything feel festive and intentional.
Tired of Takeout? 🥡
Get 10 meals you can make faster than delivery arrives. Seriously.
One email. No spam. Unsubscribe anytime.
Instructions
- Mix the dry ingredients:
- Whisk together flour, baking powder, and salt in a medium bowl, making sure the baking powder is distributed evenly so you don't end up with pockets of metallic taste. Set this aside and forget about it for now.
- Cream butter and sugar:
- Beat the room temperature butter and sugar together for 2-3 minutes until it looks pale, fluffy, and almost cloud-like—this is where air gets incorporated and cookies become tender. Don't rush this step; it makes a real difference.
- Add the wet ingredients:
- Add your egg, vanilla, and almond extract (if using) to the butter mixture, beating until everything is smooth and well combined. The dough should look homogeneous with no streaks of butter visible.
- Bring it together gently:
- Slowly add the dry ingredients to the wet, mixing just until combined—overmixing develops gluten and makes cookies tough instead of soft. Mix until you see no flour streaks, then stop immediately.
- Create the colors:
- Divide your dough into 3-4 equal portions and place each in a small bowl. Add a tiny drop of gel food coloring to each portion and knead gently with your fingers until the color is even throughout. The dough will be soft and pliable at this stage.
- Roll and twist:
- Roll each colored dough portion into a long rope about 12 inches long, working gently so you don't deflate all that beautiful air you worked in earlier. Lay all the ropes together and twist them gently around each other, creating that dreamy swirled effect.
- Chill the dough:
- Wrap your twisted dough log in plastic wrap and refrigerate for at least 2 hours—this firms up the dough so it slices cleanly without smudging the colors. You can actually leave it overnight if that works better for your schedule.
- Prepare for baking:
- Preheat your oven to 350°F and line your baking sheets with parchment paper so nothing sticks. This is the moment to get your sprinkles ready too.
- Slice and top:
- Remove the dough log from the fridge and slice it into 1/4-inch thick rounds using a sharp knife, working with a gentle sawing motion rather than pressing down hard. Arrange them on your prepared baking sheets with about 2 inches of space between each cookie, then sprinkle the pastel sprinkles on top if using.
- Bake to perfection:
- Bake for 10-12 minutes until the edges are just barely golden—the centers should still look slightly underbaked because they'll continue cooking on the hot pan. This is the secret to keeping them soft instead of crispy.
- Cool properly:
- Let the cookies cool on the baking sheet for 5 minutes so they firm up enough to move without breaking, then transfer to a wire rack for complete cooling. This resting period prevents them from getting too soft or too hard.
 Pin It
 There's something quietly powerful about handing someone a cookie you made with your own two hands, watching their face light up when they see the swirls. It's not complicated food, but it carries intention in a way that store-bought never can.
The Art of the Swirl
The swirled effect is honestly more forgiving than you'd think, which is a relief if you're worried about making them look "perfect." The key is not overthinking the twist—loose, organic-looking swirls actually photograph better than ones that look too controlled. I used to spend minutes carefully aligning the ropes, but I discovered that a quick, casual twist with slight variations in pressure creates those naturally beautiful gradients that look intentional rather than mechanical. The dough doesn't care if your twist is perfectly even; it just wants to be handled with gentle confidence.
Flavor Variations Worth Exploring
While these cookies shine in their simple, buttery state, there are moments when I've wanted to push the flavor slightly further. A light citrus zest (lemon or orange) mixed into the base dough adds a subtle brightness that doesn't overpower the pastel cookie aesthetic. I've also experimented with brown butter for a nuttier depth, though this requires letting the butter cool before creaming—worth the extra step if you're feeling adventurous. The beauty is that any flavor addition stays gentle enough to not compete with the visual appeal, which is really what these cookies are all about.
Storage and Make-Ahead Magic
These cookies are genuinely one of the best make-ahead desserts because they actually taste better after sitting for a day, allowing the flavors to meld and soften further. An airtight container at room temperature keeps them fresh for up to five days, and I often make the dough log a week ahead and freeze it, slicing and baking fresh whenever I need them. This flexibility means you can serve impressive homemade cookies without the stress of timing everything perfectly for an event.
- Freeze the unsliced dough log for up to two months, then slice and bake directly from frozen (add 1-2 minutes to baking time).
- Store baked cookies in a container with parchment between layers to prevent sticking and color transfer.
- If cookies harden slightly after a few days, place a small piece of bread in the container overnight to restore softness through moisture transfer.
 Pin It
 Baking these cookies is less about following rules and more about creating moments where something ordinary becomes memorable. Every time someone enjoys one of these, a little bit of thoughtfulness goes into their day.
Recipe FAQs
- → How do I achieve vibrant pastel colors without affecting dough texture?
Use gel food coloring, as it provides bright hues without adding extra liquid, preserving dough consistency.
- → Can I add extra flavor to these swirled cookies?
Yes, incorporating lemon or orange zest into the dough adds a fresh citrus note that complements the buttery base.
- → What’s the best technique for creating the pastel swirl effect?
Divide the dough into portions, tint each separately, roll into long ropes, then twist gently together before chilling and slicing.
- → How long should the dough be chilled before baking?
Chill wrapped dough logs for at least two hours or until firm to ensure clean slices and maintain shape when baking.
- → How should these cookies be stored to maintain freshness?
Store in an airtight container at room temperature for up to five days or freeze for up to two months without quality loss.